Ghostty Shaders
ターミナルエミュレータGhosttyのシェーダ機能を試してみました。
以下のサイトのコードがほぼそのまま利用できました。
残念ながらテクスチャを利用するコードは使えませんでした。
https://www.shadertoy.com/
コードを改造することによりターミナルエミュレータとして利用可能になります。
iChannel0にはターミナルエミュレータの出力が割り当てられていて変更はできないようです。custom-shader-ichannel1 = ./texture.png みたいなテクスチャのローダが実装されないかなぁ。
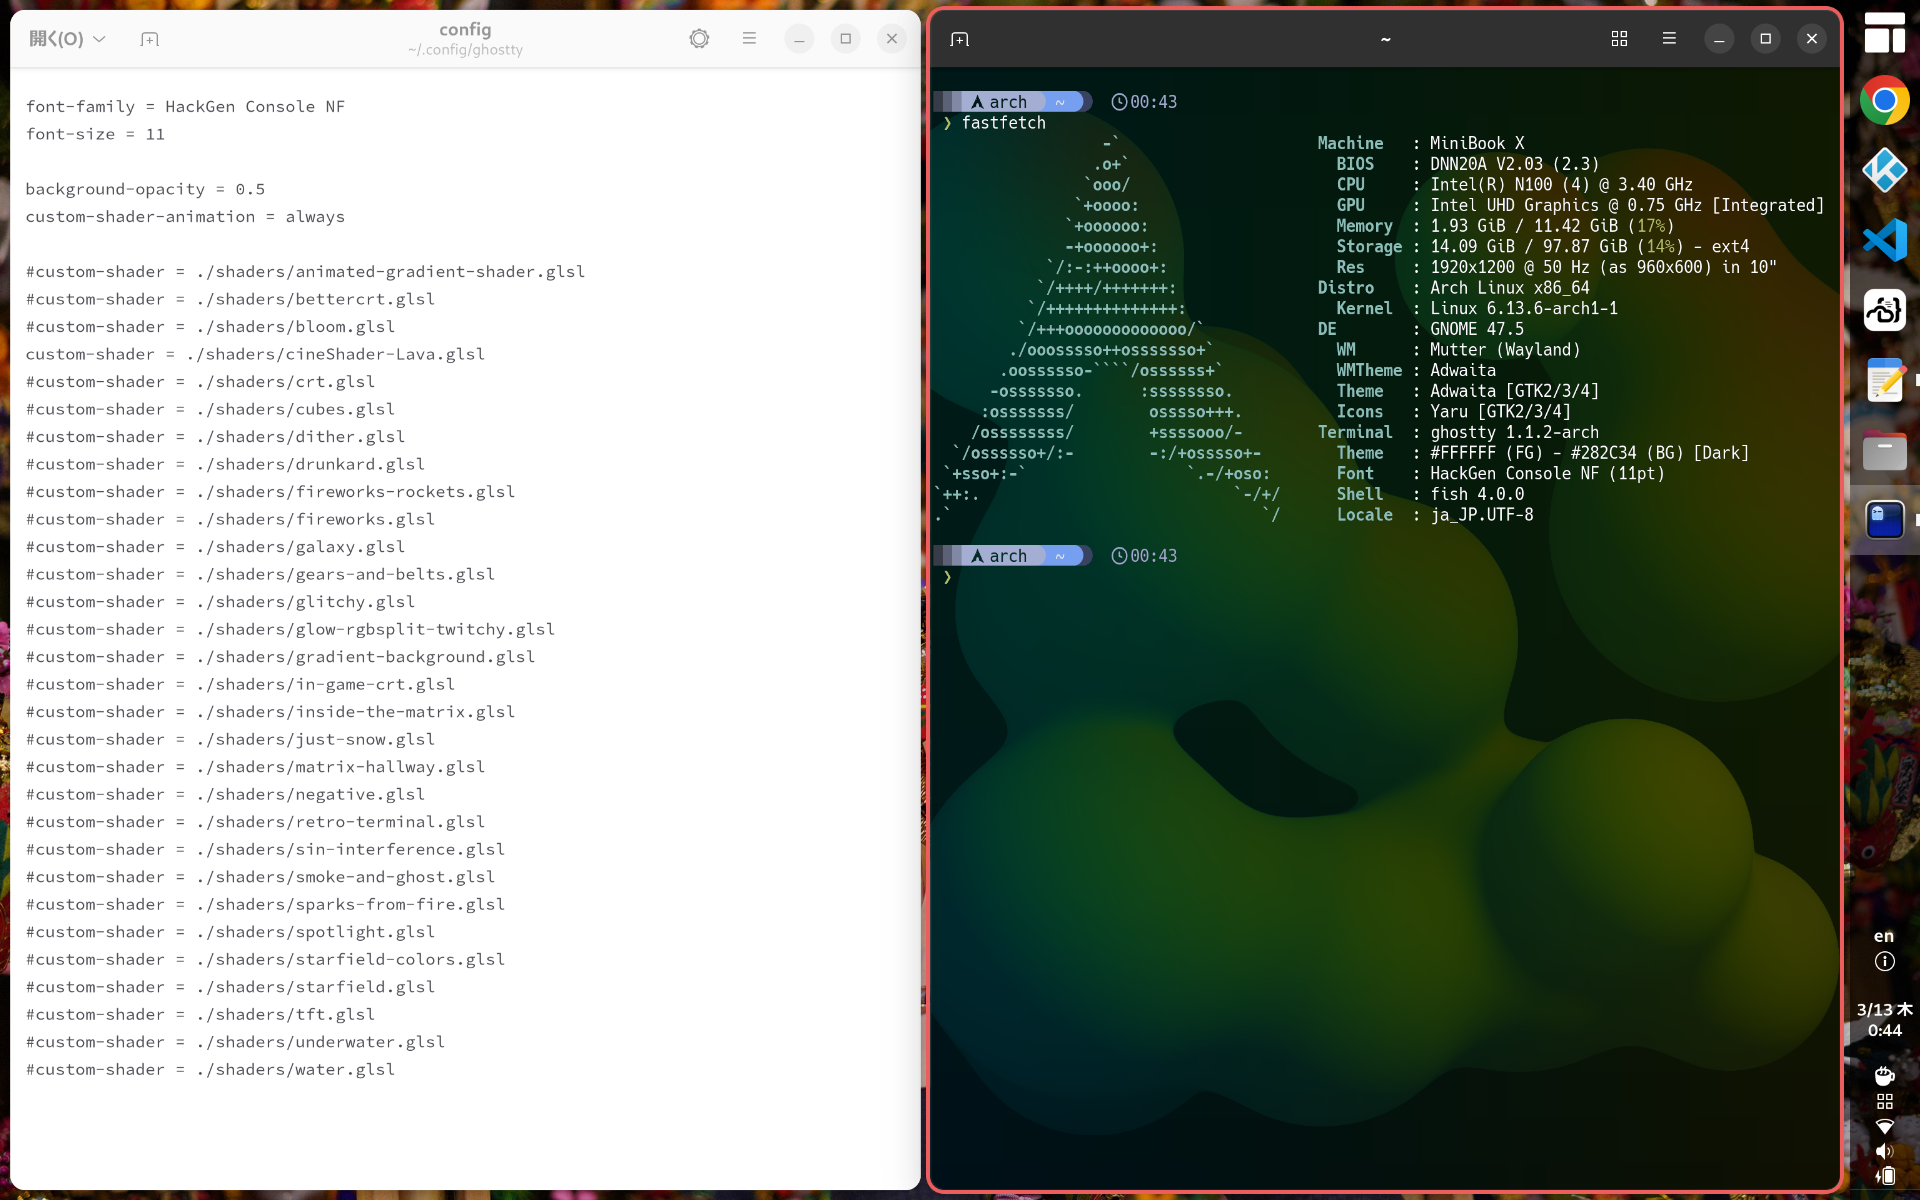
環境
- Arch Linux
- GNOME 47.5
- ghostty 1.1.2
構築
以下のサイトのサンプルコードを利用します。
https://www.shadertoy.com/
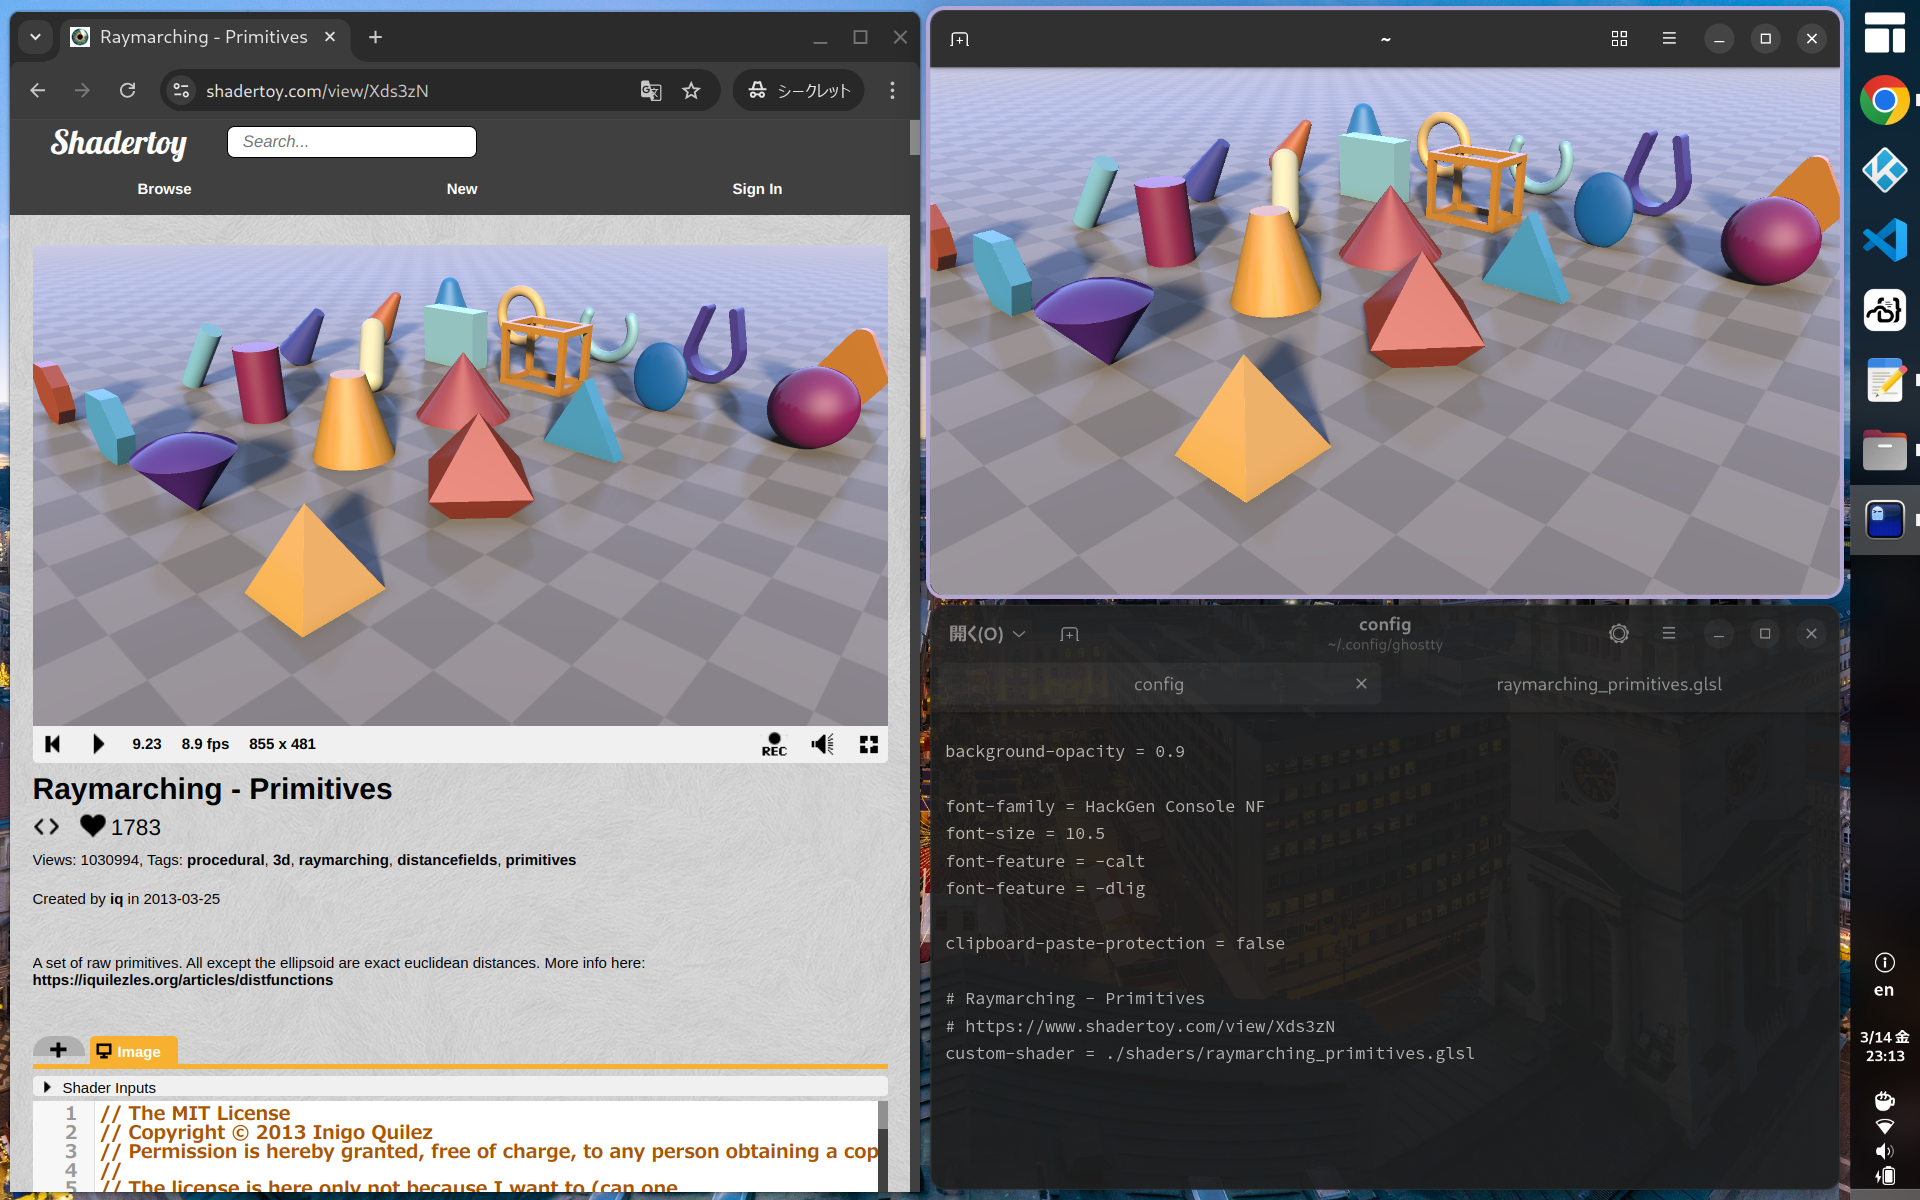
サンプル1
- 以下のサンプルコードをファイルに保存します。
| URL | https://www.shadertoy.com/view/Xds3zN |
| FILE | $HOME/.config/ghostty/shaders/raymarching_primitives.glsl |
custom-shader = ./shaders/raymarching_primitives.glsl |
サンプル2
- 以下のサンプルコードをファイルに保存します。
| URL | https://www.shadertoy.com/view/Ms2XzK |
| FILE | $HOME/.config/ghostty/shaders/nyancat.glsl |
54 | vec4 rainbow = getRainbowAt(uv, nyan_p); |
custom-shader = ./shaders/nyancat.glsl |
サンプル3
- 以下のサンプルコードをファイルに保存します。
| URL | https://www.shadertoy.com/view/XtlSD7 |
| FILE | $HOME/.config/ghostty/shaders/mario.glsl |
1424 | // fragColor.xyz = color; |
custom-shader = ./shaders/mario.glsl |
Comments