RPi4B - Arch Linux

Raspberry Pi 4BにArch Linux (64it)をインストールしてみました。
https://archlinuxarm.org/platforms/armv8/broadcom/raspberry-pi-4
環境
- Raspberry Pi 4B
- 32GB SDカード
- Arch Linux
構築
作業PC
- gpartedでSDカードのパーティションを削除しておく
- rootで作業する
su |
- Start fdisk to partition the SD card:
fdisk /dev/sdX |
私の環境では/dev/sdaでした
- At the fdisk prompt, delete old partitions and create a new one:
入力 内容
o|This will clear out any partitions on the drive
p|list partitions. There should be no partitions left
n
p
1
ENTER
+400M|the first partition on the drive
t
c|set the first partition to type W95 FAT32 (LBA).
n
p
2
ENTER
ENTER|the second partition on the drive
w|Write the partition table and exit
- Create and mount the FAT filesystem:
mkfs.vfat /dev/sdX1 |
- Create and mount the ext4 filesystem:
mkfs.ext4 /dev/sdX2 |
- Download and extract the root filesystem (as root, not via sudo):
wget http://os.archlinuxarm.org/os/ArchLinuxARM-rpi-aarch64-latest.tar.gz |
- Move boot files to the first partition:
mv root/boot/* boot |
- Edit fstab
# Static information about the filesystems. |
- Unmount the two partitions:
umount boot root |
Raspberry Pi (1)
- Insert the SD card into the Raspberry Pi, connect ethernet, and apply 5V power.
- Use the serial console or SSH to the IP address given to the board by your router.
- Login as the default user alarm with the password alarm.
- The default root password is root.
- rootで作業する
su |
- Initialize the pacman keyring and populate the Arch Linux ARM package signing keys:
pacman-key --init |
- ミラーの設定
### Japan |
- パッケージの更新
pacman -Syu |
- base-develのインストール
pacman -S base-devel |
Raspberry Pi (2)
- gnomeのインストール
pacman -S gnome |
- GDMのインストールと有効化
pacman -S gdm |
- タイムゾーンの設定
curl https://ipapi.co/timezone |
- ロケールの設定
locale-gen |
- 再起動
reboot |
利用
- ChromiumはFlatpak版が動作する
- alarmのユーザ名を変更(ユーザIDはそのまま)
GDMの画面で、
Ctrl+Alt+F4
rootでログインCtrl+Alt+F1usermod -l arch alarm
groupmod -n arch alarm
usermod -d /home/arch -m arch
exit - visudo
- openssh
sudo pacman -S openssh
- ホスト名の変更
hostnamectl set-hostname rpi4b
- Bluetoothの有効化
sudo pacman -S bluez bluez-utils gnome-bluetooth-3.0
sudo systemctl enable bluetooth
sudo systemctl start bluetooth - その他設定
https://ktkr3d.github.io/archlinux/
https://ktkr3d.github.io/GNOME/
TODO
- Wifi
- pritunl/wireguard
- rdp接続しても画面が真っ黒・・・
sudo pacman -S gnome-remote-desktop freerdp inetutils
RDP_USER="${USER}"
RDP_PASS="12345678"
sudo -u gnome-remote-desktop sh -c 'mkdir -p ~/.local/share/gnome-remote-desktop/'
sudo -u gnome-remote-desktop sh -c "openssl req -new -newkey rsa:4096 -days 720 -nodes -x509 -subj /C=SE/ST=NONE/L=NONE/O=GNOME/CN=$(hostname) -out ~/.local/share/gnome-remote-desktop/tls.crt -keyout ~/.local/share/gnome-remote-desktop/tls.key"
sudo grdctl --system rdp set-tls-key ~gnome-remote-desktop/.local/share/gnome-remote-desktop/tls.key
sudo grdctl --system rdp set-tls-cert ~gnome-remote-desktop/.local/share/gnome-remote-desktop/tls.crt
sudo grdctl --system rdp set-credentials "${RDP_USER}" "${RDP_PASS}"
sudo grdctl --system rdp enable - networkmanager
sudo pacman -S networkmanager
Related Articles

2025-03-11
ALG - Arka Linux GUI
Arch LinuxのGUIインストーラであるALG(Arka Linux GUI)を試してみました。https://github.com/arch-linux-gui/alg-releases Welcomeアプリ(alg-welcome)とOSインストーラ(calamares)で構成されているようです。Calam-Arch-Installerのようにインストール中にデスクトップ環境を選択することはできないようですが、インストール時やインストール後に日本語が表示されるのは便利ですね。 公開されているメディアhttps://sourceforge.net/projects/arch-linux-gui/files/ Folder File Date Size beta-iso/ alg-plasma-2025.03-x86_64.iso 2025-03-05 3.0 GB experimental-editions/ archlinux-gui-zen-2022.07-x86_64.iso 2022-07-07 2.5 GB virt...
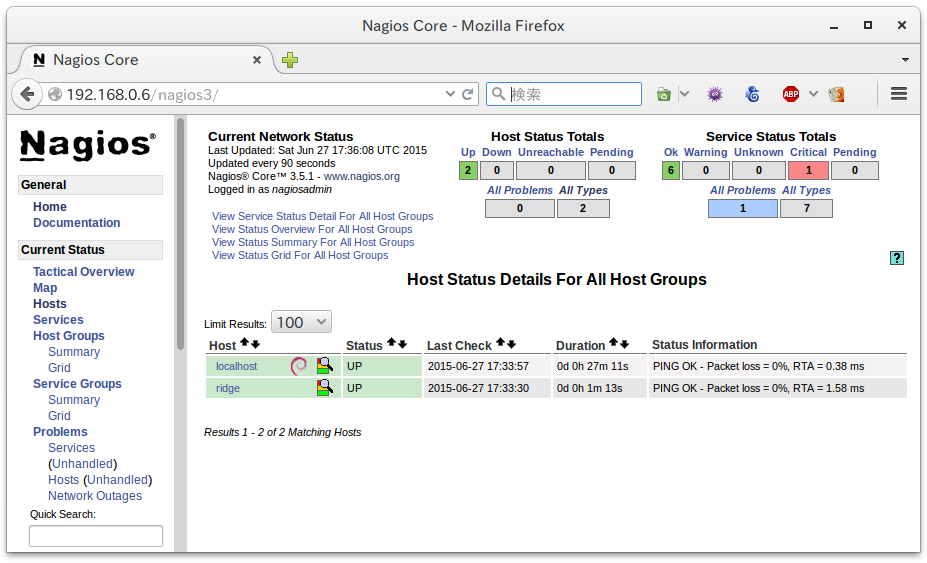
2015-06-28
Nagios on Raspberry Pi 2
https://www.nagios.org/https://help.ubuntu.com/lts/serverguide/nagios.html インストール$ sudo apt-get install nagios3 nagios-nrpe-plugin 監視ホストの追加/etc/nagios3/conf.d/ridge_nagios2.cfgdefine host{ use generic-host host_name ridge alias ridge address 192.168.0.2 }define service{ use generic-service host_name ridge service_description PING check_command check_ping!500,10%!1000,2...

2025-03-20
GNOME 48
GNOME 48がリリースされたのでArch LinuxにGNOME 48.0 (gnome-unstableリポジトリ)を導入してみました。https://release.gnome.org/48/https://archlinux.org/groups/x86_64/gnome/ GNOME関連アプリが起動しません。extraリポジトリに反映されるのをまちましょう。 2025-03-23 追記https://archlinux.org/groups/x86_64/gnome/GNOME 48がextraリポジトリに来ました。 Chrome起動時のグローバルショートカットのポップアップ抑止https://www.reddit.com/r/gnome/comments/1jfejor/psa_chromechromiumbased_browsers_and_gnome_48/ ~/.config/chrome-flags.conf--disable-features=GlobalShortcutsPortal 2025-03-20 追記 https://archlinux.org...
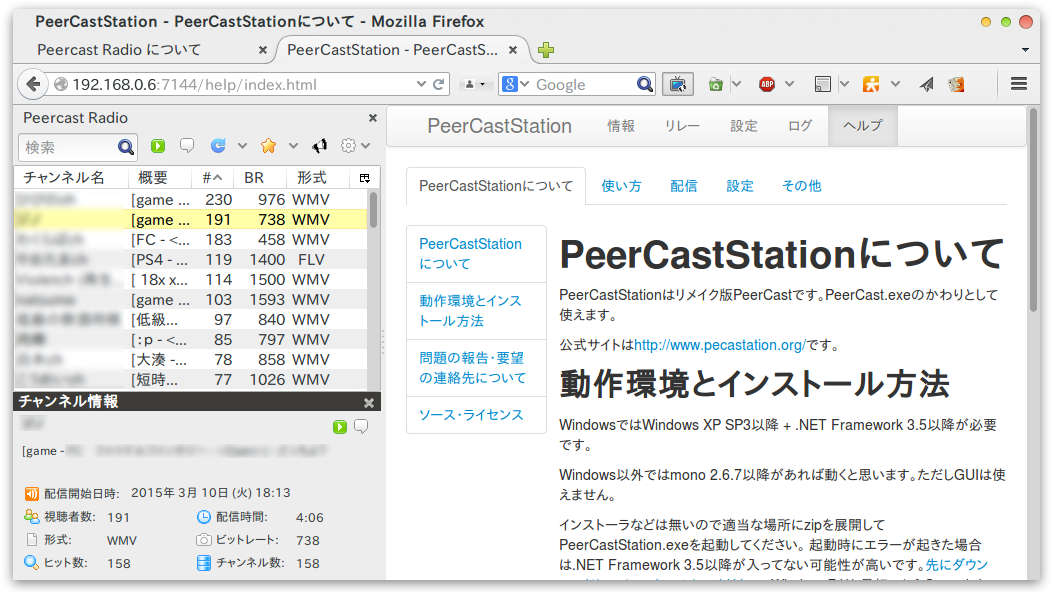
2015-03-10
PeerCastStation on Raspberry Pi 2
Raspberry Pi 2 でPeerCastStation を動かしてみました。 PeerCastStation の取得と実行$ sudo apt-get install mono-complete unzip$ wget http://www.pecastation.org/files/PeerCastStation-1.9.1.zip$ unzip PeerCastStation-1.9.1.zip$ cd PeerCastStation-1.9.1$ mono PeerCastStation.exe 接続http://192.168.0.6:7144/ サービスとして実行する場合$ mono-service PeerCastStation.exe

2024-07-23
mutter-text-input-v1
WaylandモードのGoogle Chrome/Visual Studio Codeで日本語入力ができるようになりました。私はWaylandの分数スケーリング(Fractional Scaling)設定を利用していますので大変助かりました。 https://aur.archlinux.org/packages/mutter-text-input-v1 問題WaylandコンポジタのMutterがサポートしているtext-input-v3 とChome/Electronがサポートしているtext-input-v1 のバージョンが異なることに起因してWaylandモードのChrome/Electronで日本語入力できない問題がありました。 Ozone/Wayland: Stabilizing IMEhttps://docs.google.com/document/d/1GkOphcAQBMdW4iPiMOd9eKd70tlXWQaR7M3GJXGUDpQ/edit#heading=h.7nki9mck5t64 この問題解決に向けて2...
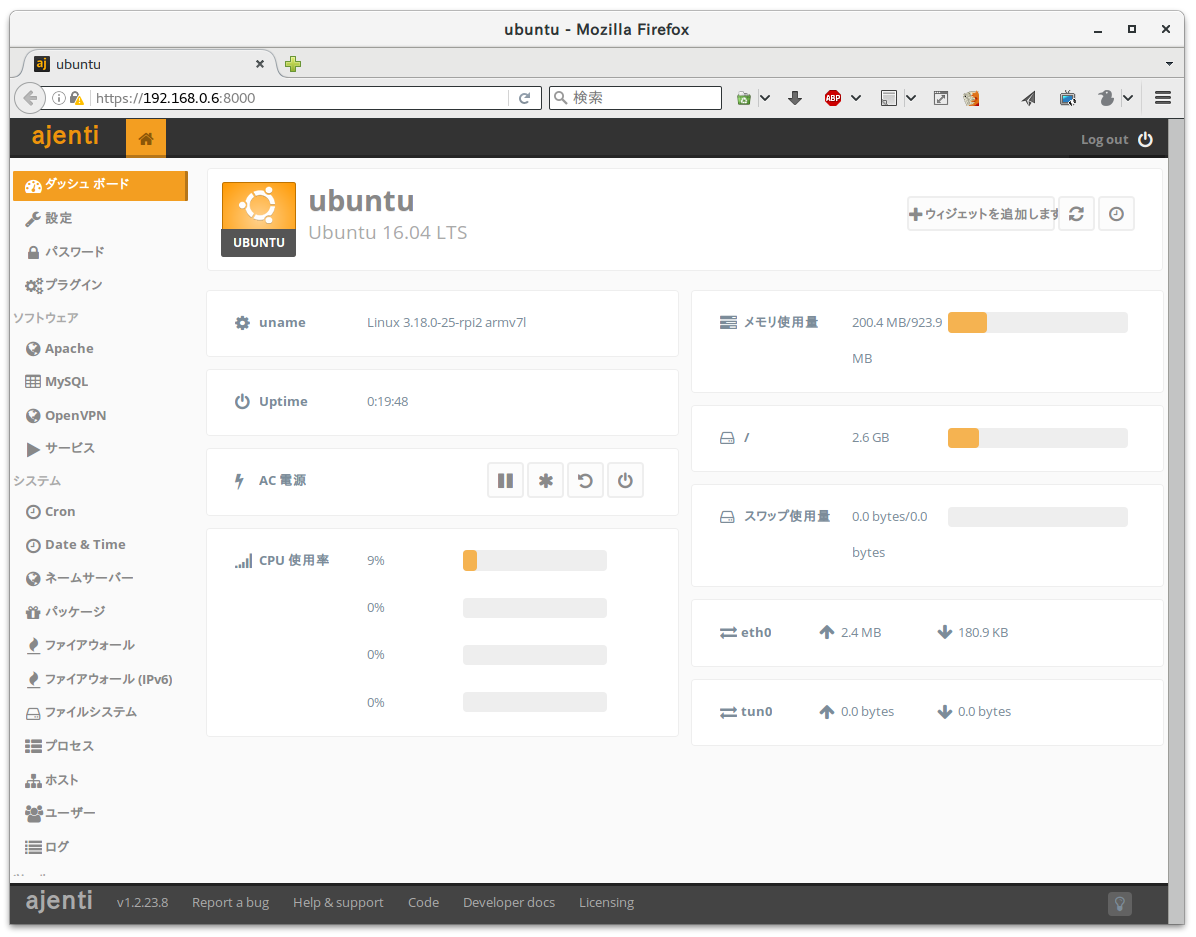
2016-07-09
Ajenti on Raspberry Pi 2
http://ajenti.org/ Web ベースのシステム管理ツールのAjenti をRaspberry Pi 2 のUbuntu 16.04 LTS にインストールしてみました。 OS のアップグレードその前に、Ubuntu 14.04 LTS を16.04 LTS にアップグレードしておきましょう。 https://www.digitalocean.com/community/tutorials/how-to-upgrade-to-ubuntu-16-04-lts $ sudo apt-get update$ sudo apt-get upgrade$ sudo apt-get dist-upgrade$ sudo apt-get dist-upgrade -d$ sudo apt-get install update-manager-core$ sudo do-release-upgrade$ sudo reboot Ajenti のインストールhttp://support.ajenti.org/topics/1121-installing-on-ubuntu/...
Comments