OpenVPN with Raspberry Pi

https://openvpn.net/
OpenVPN を使ってインターネットから自宅のサーバネットワークにセキュアに接続してみました。
| 機器 | 構成 |
|---|---|
| VPN サーバ | - Raspberry Pi 2 - Ubuntu 14.04 (ARM) - OpenVPN 2.3.2 |
| Linux クライアント | - Ubutu GNOME 15.10 (x86_64) - GNOME Shell 3.17.4 |
| Android クライアント | - Android 4.4.2 - OpenVPN アプリ |
VPN サーバの設定
はじめにRaspbery Pi はRTC(Real Time Clock)を持っていないので、ntp で時刻同期をしておきます。
#server 0.ubuntu.pool.ntp.org iburst |
必要なパッケージをインストールして、認証局用のディレクトリを作成します。
$ sudo apt-get install openvpn libssl-dev openssl easy-rsa |
設定ファイルvars を編集します。
export KEY_COUNTRY="JP" |
認証局、VPN サーバおよびクライアント用の証明書等を作成します。
# source vars && ./clean-all && ./build-ca |
VPN サーバの設定ファイルserver.conf を編集します。VPN サーバのローカルアドレスは192.168.0.6/24 です。
| before | after |
|---|---|
| dh dh1024.pem | dh dh2048.pem |
| push “route 192.168.0.0 255.255.255.0” | |
| ;push “redirect-gateway def1 bypass-dhcp” | push “redirect-gateway def1 bypass-dhcp” |
| push “dhcp-option DNS 192.168.0.1” | |
| ;client-to-client | client-to-client |
| ;tls-auth ta.key 0 # This file is secret | tls-auth ta.key 0 # This file is secret |
| ;user nobody | user nobody |
| ;group nogroup | group nogroup |
| ;log openvpn.log | log /var/log/openvpn.log |
| mode server | |
| tls-server |
OpenVPN サービスを再起動します。
# service openvpn restart |
Linux クライアントの設定
接続用のパッケージをインストールします。
sudo apt-get install network-manager network-manager-openvpn network-manager-openvpn-gnome |
VPN サーバ上のサンプルファイル/usr/share/doc/openvpn/examples/sample-config-files/client.confをコピーして、client1.ovpnを作成します。
| before | after |
|---|---|
| remote my-server-1 1194 | remote (VPN サーバのFQDN or IP アドレス) 1194 |
| cert client.crt | cert client1.crt |
| key client.key | key client1.key |
| ;tls-auth ta.key 1 | tls-auth ta.key 1 |
VPN サーバ上の以下のファイルを安全な方法でクライアントに転送します。
- /etc/openvpn/easy-rsa/keys/ca.crt
- /etc/openvpn/easy-rsa/keys/ta.key
- /etc/openvpn/easy-rsa/keys/client1.crt
- /etc/openvpn/easy-rsa/keys/client1.key
設定ファイルをインポートします。
$ gnome-control-center network |
+を選択VPNを選択Import from file...を選択し、client1.ovpnを取り込みます。
Android クライアントの設定
PC と同様にclient2.ovpn を作成し、OpenVPN アプリで取り込みます。
Related Articles
2019-08-17
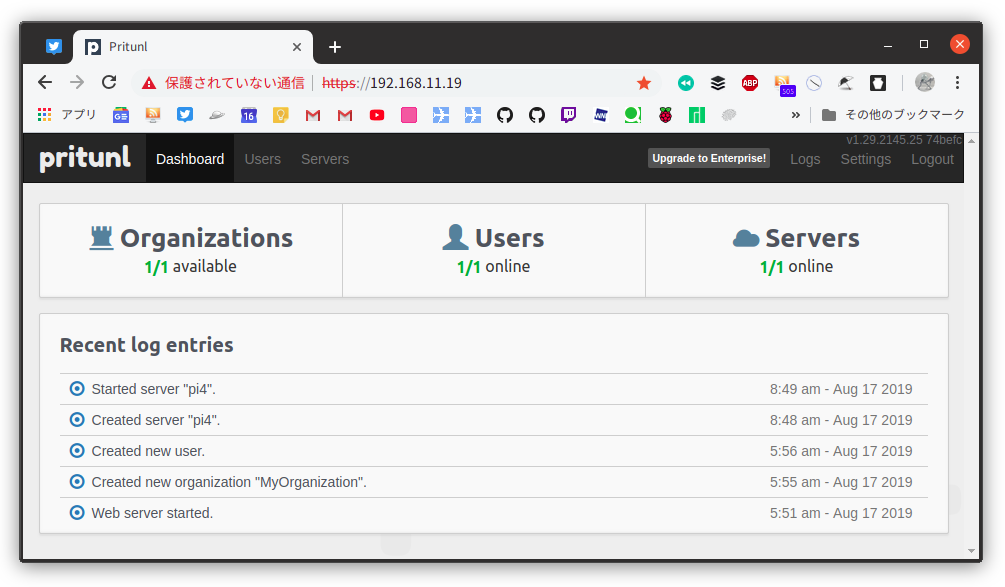
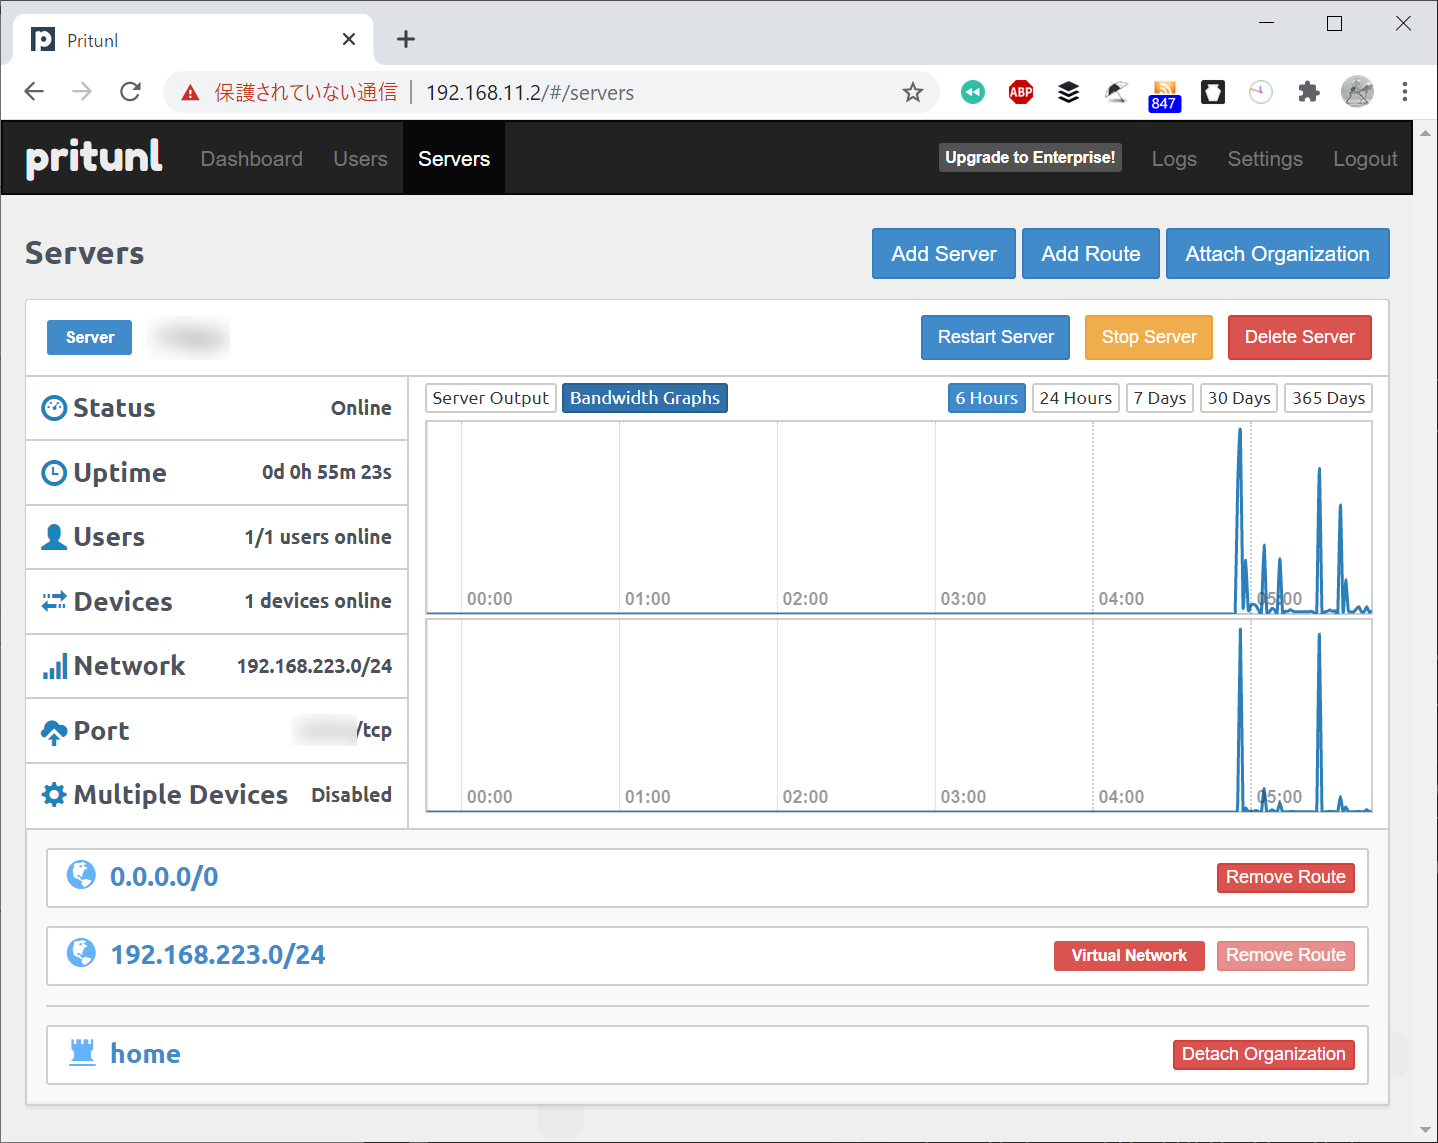
RPi4 - Pritunl
https://pritunl.com/https://opensource.com/article/19/1/pritunl-vpn-raspberry-pipritunl はVPN サーバの構築と管理をしてくれるOSSで、OpenVPN を使っています。Raspberry Pi 4 に環境を構築して、OpenVPN クライアントから接続してみました。操作が簡単で便利ですね。 環境 Raspberry Pi 4B Ubuntu Server 19.10 aarch64 構築以下の手順に従って構築します。いくつかカスタマイズしています。https://opensource.com/article/19/1/pritunl-vpn-raspberry-pi 前提パッケージ$ sudo apt-get -y install build-essential git bzr python python-dev python-pip net-tools openvpn bridge-utils psmisc golang-go libffi-dev mongodb...
2020-08-24
OpenVPN on WSL2
https://github.com/pritunl/pritunlWSL2 の環境にOpenVPN を導入してみました。Pritunl を管理ツールとして使いました。外出先から自宅環境のファイルサーバの参照、EPGStation の操作、WSL2 への接続、Windows 10 へのリモートデスクトップ接続、等ができます。今まではRaspberry Pi をVPN サーバにしていました。リスクがある気もしますが移行を検討してみます。 環境 Windows 10 Insider Preview Build 20197 WSL2 (Ubuntu 20.04) openvpn 2.4.7 pritunl 1.29.2530.72ℹ️Wireguard を指定する項目が増えていました mongodb 3.6.9 v6 プラスでインターネット接続 v6 プラス接続環境の調査 公開IPv4 アドレスと公開IPv6 アドレスを確認 https://test-ipv6.com/ 公開IPv6 アドレスから公開可能なポート番号を確認 ...